Showing posts with label Project ReStyle. Show all posts

2.27.2012

Master Bath Saga... Shower Curtain Hook DIY

So like I said in my post last week of the before pictures of our master bath, this re-style has to be done cheaply. As in almost free if possible! When I started to think of a color scheme I thought of everything I already owned that could be re-purposed. That included a white shower curtain and the hooks I had on the existing curtain.

I wanted to add some of my personality to the room and I thought what better way to makeover the hooks than by covering them with fabric. Since they were already round it mimics the look of a fabric covered button quite well. Best of all this part was free... I used fabric from my stash and my trusty glue gun.

The process was super easy and probably only took about 30 min. to complete...

Supplies Needed: Shower Curtain Hooks, Fabric, Hot Glue Gun and Glue, Chalk or Something to Mark With, (Optional: Yarn, Fabric Glue)
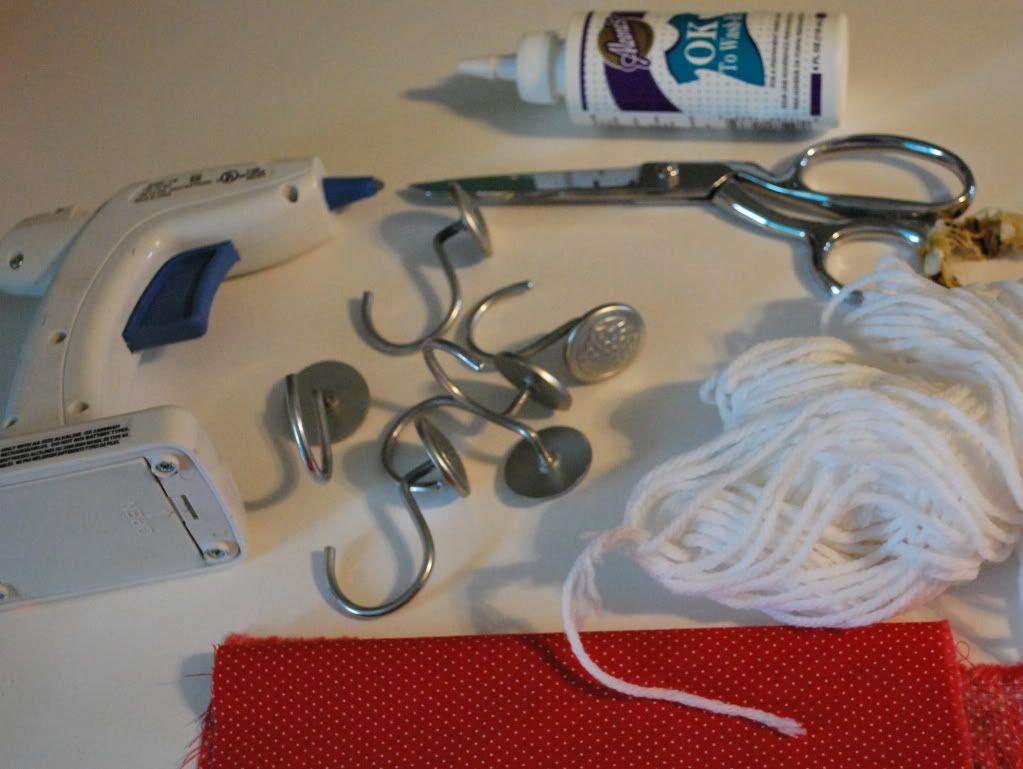

Shower_Hook_Supplies

1. Trace the front of the hook, be generous so that there is enough fabric to wrap completely around.
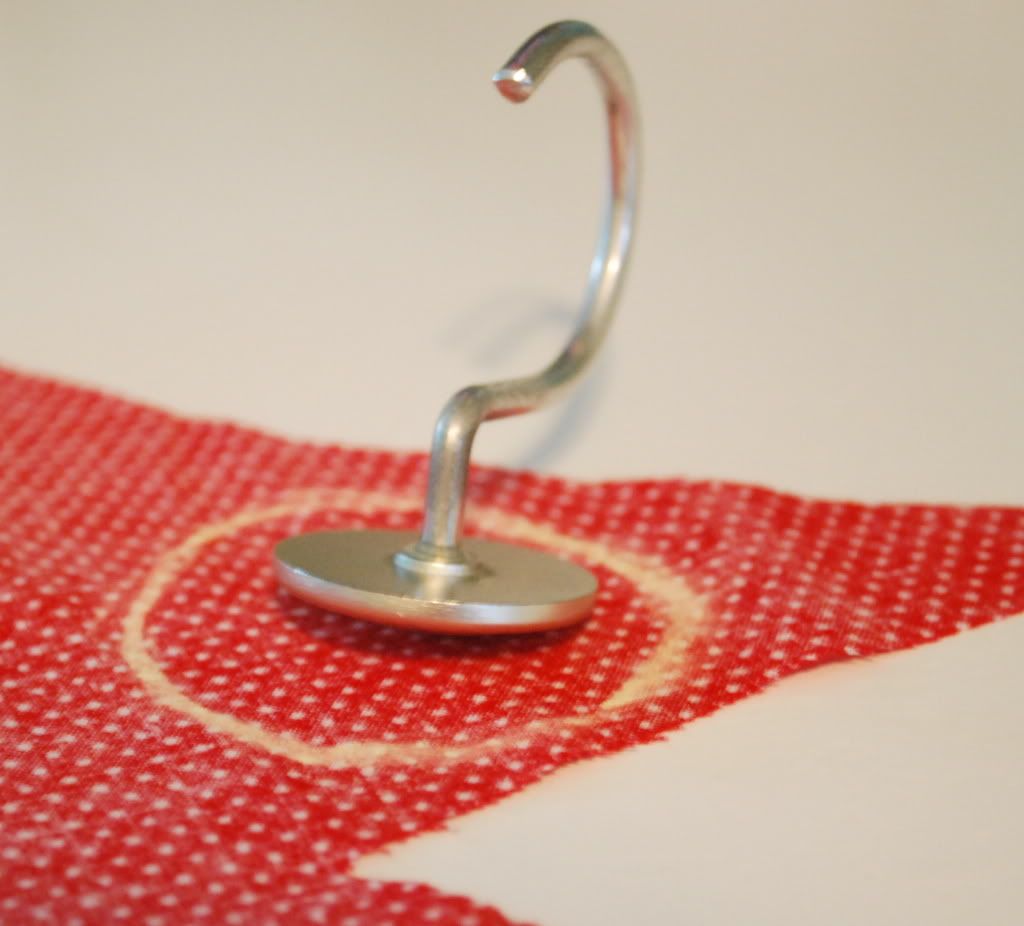
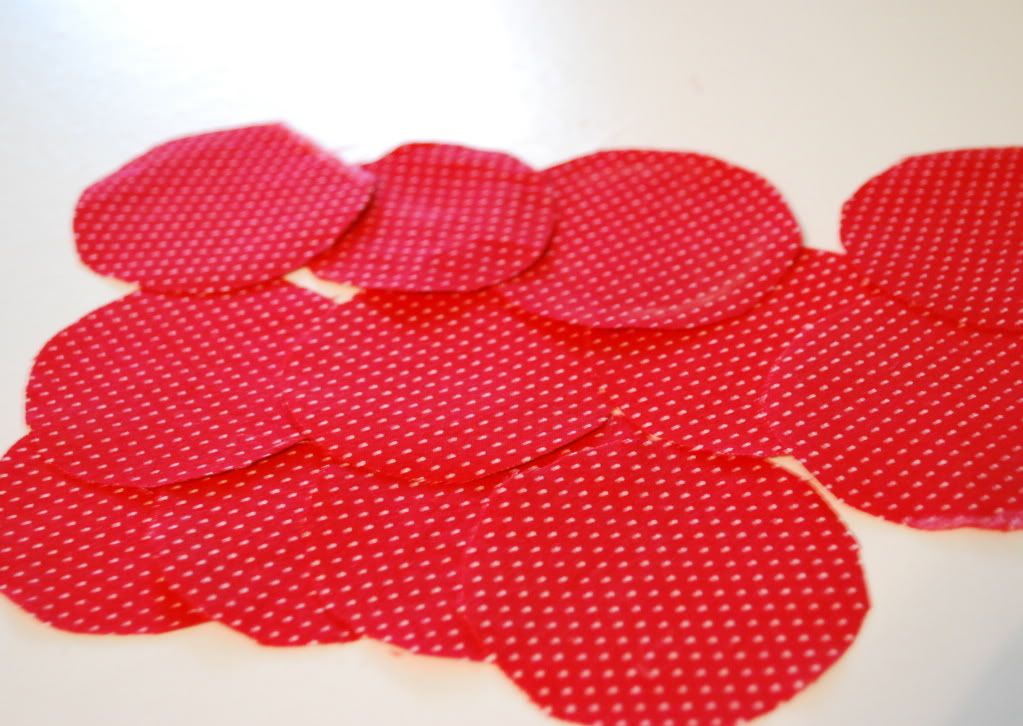
Shower_Curtain_Hook_Restyle


2. Glue and adhere fabric to the hook.

3. For an added effect cut and glue yarn to the front in an X shape to mimic the look of a sewed on button.
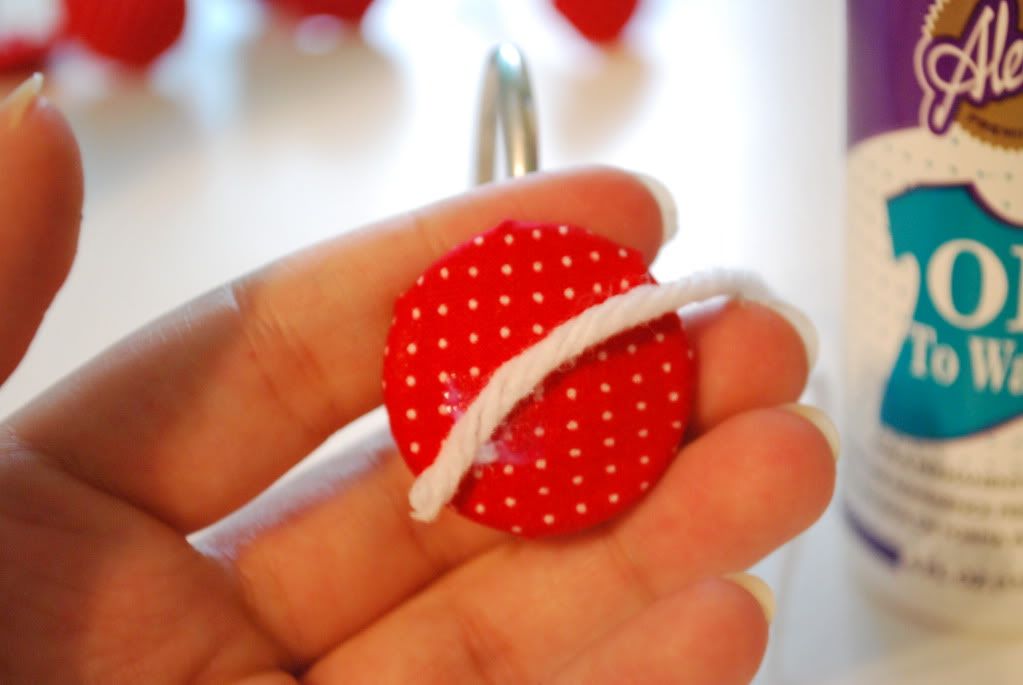
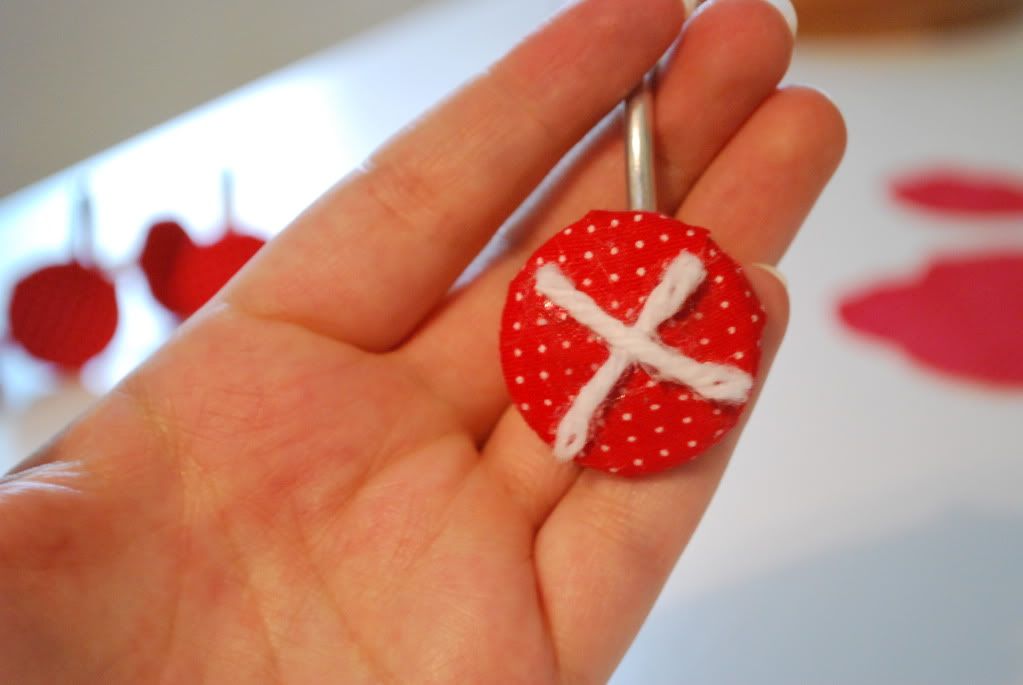


4. Admire the ease of the project and the change in your bathroom!
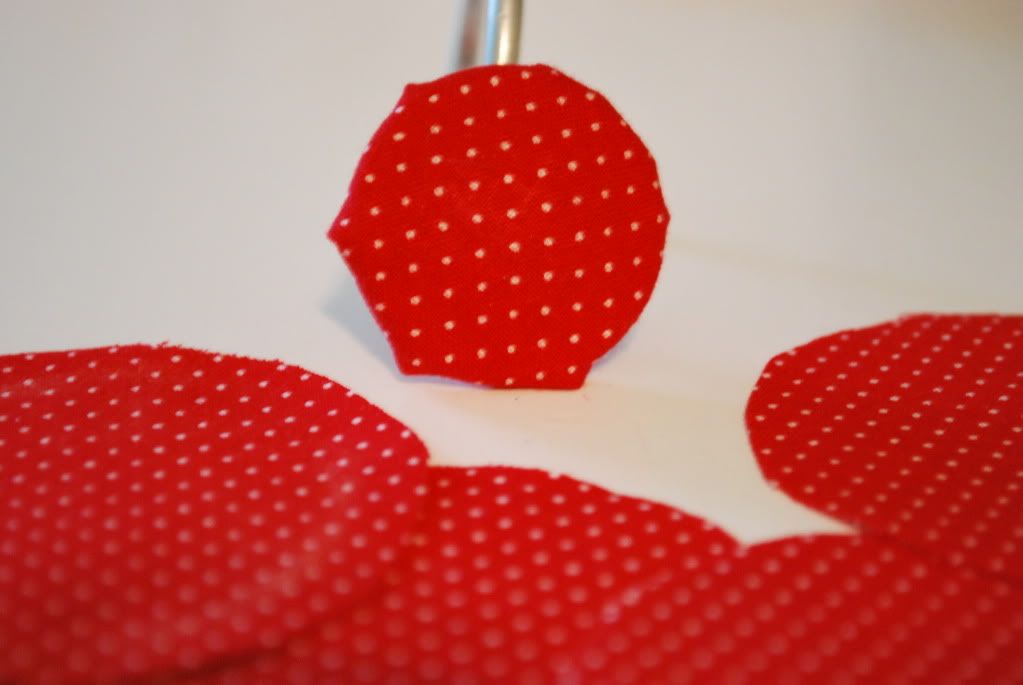


I opted out of the yarn on the button look because the white was just too washed out against the white shower curtain and I didn't have any other yarn that complemented my color choices. I love this little extra that this simple DIY adds. Tomorrow I'll be back with another installment of how it's all starting to take shape!


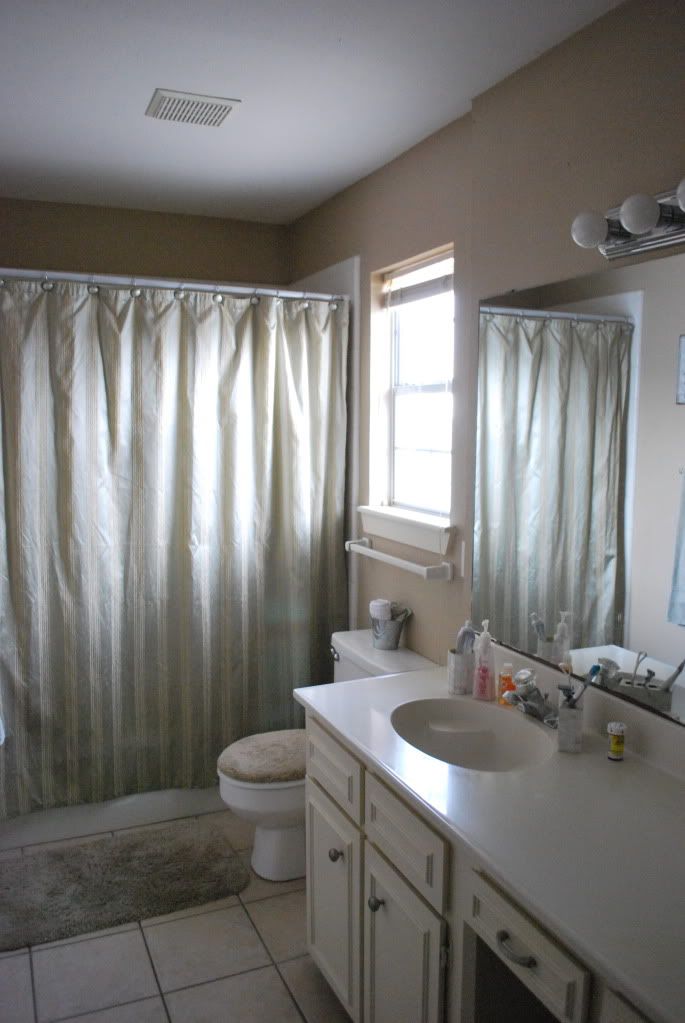
2.24.2012

Trying Something New...

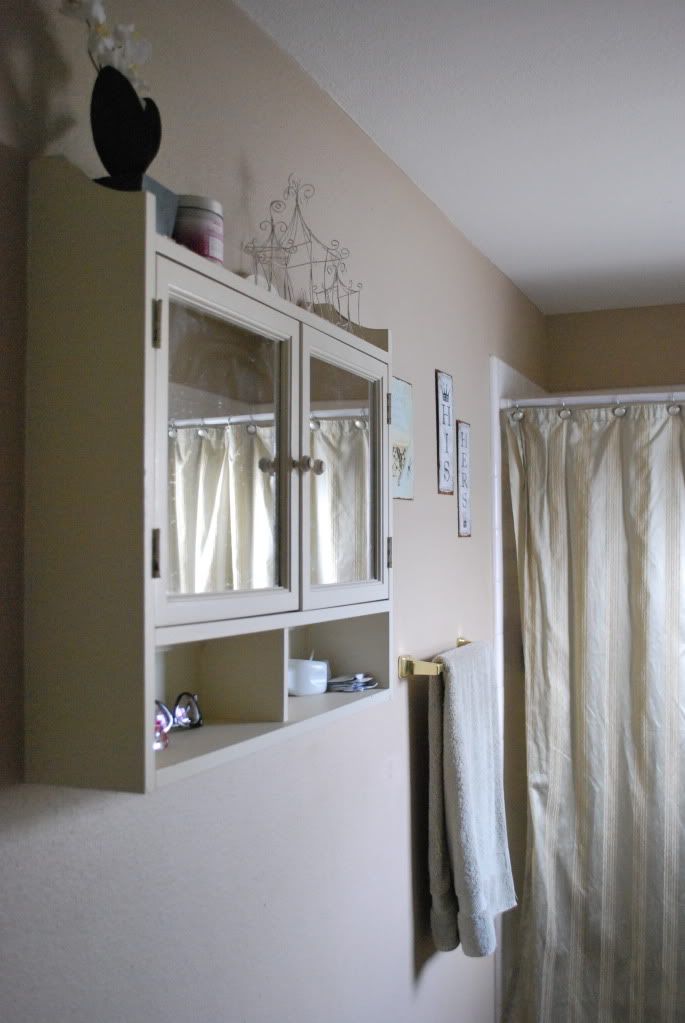
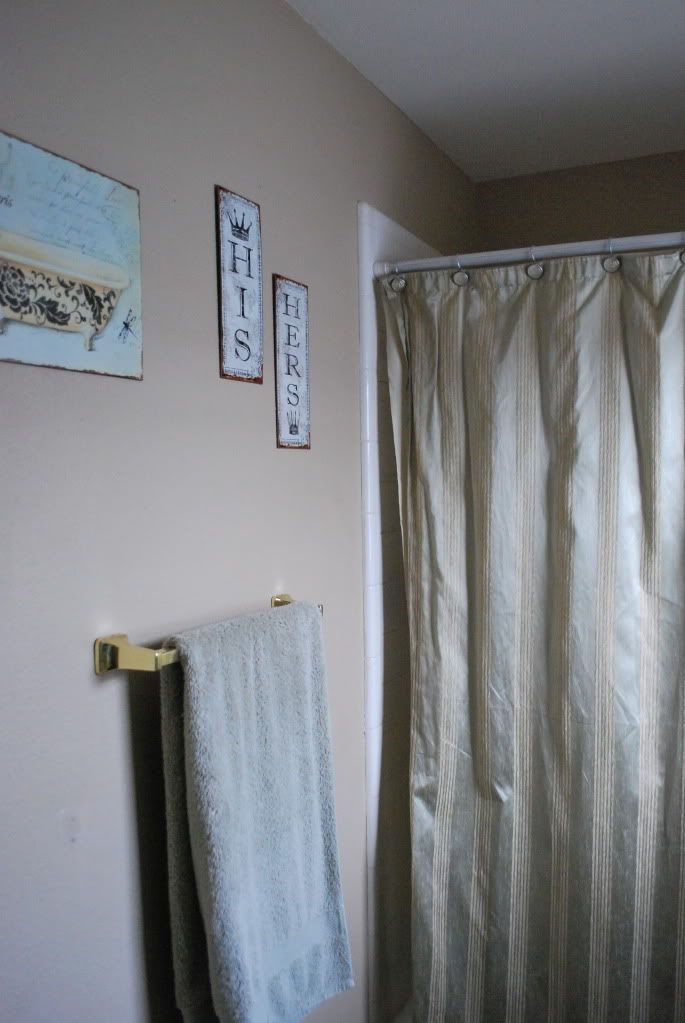
Do any of you remember like forever and a day ago I posted about wanting to give my master bath a redo? Well the time has come my friends and this makeover is on a tight budget! As I keep you updated on the process I will include DIYs so if you get the itch you can give your bathroom a little love too. I'm hoping to keep this update under a hundred dollars and if I can do it for less than fifty even better!!

Today I am going to show you all the before pics... when I registered for all of my master bath goodness we hadn't bought our house yet so I was unaware that everything would be beige!! My thought when I registered was to keep the Mister happy and go for a sort of spa look. Well against the walls that match the rugs, that are the exact same color as the towels...the look was lost. Since I get ready and start my day in this space it should be happy right?!


See... so stinkin' blah!


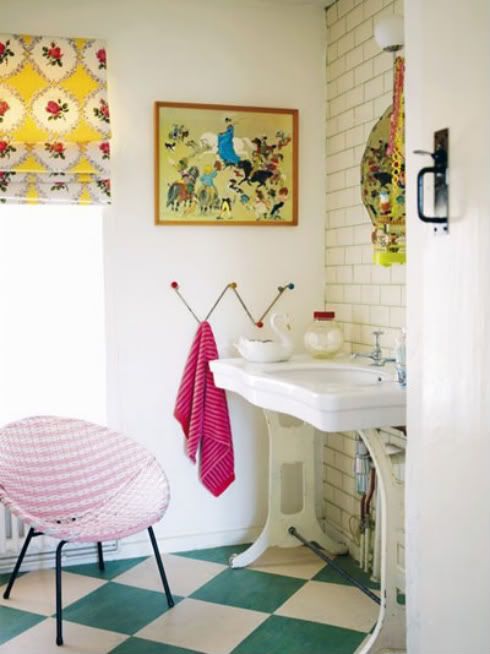
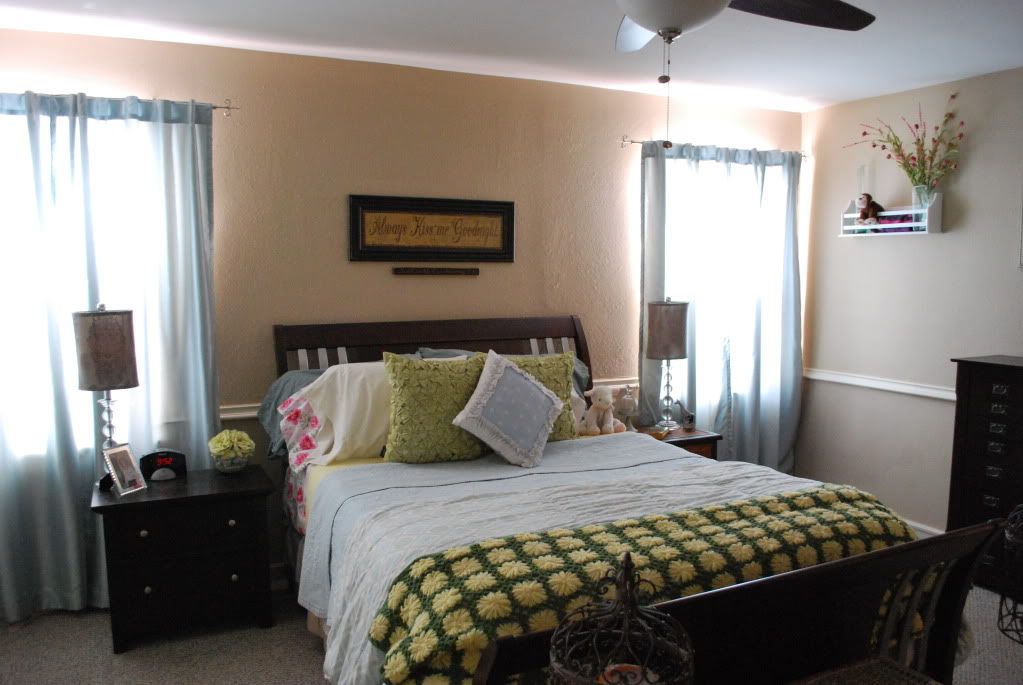
The way I chose my new color pallet was out of necessity. Like I said I am on a very limited budget and needed to reuse things I already own as much as possible. That being said I already had a white shower curtain and some yellow monogrammed towels that weren't being used because they didn't fit into any of our spaces. I decided to add aqua, red and pink to the mix and give it a vintage feel to stay true to my aesthetic. Here are a couple of inspiration pics so you get the idea. I feel like it will blend with our master bedroom quite nicely.


Vintage_Inspired_Bathroom

(The inspiration)


So stay tuned next week for updates in the master bath saga...


11.07.2011

This & That...

I am so bad at remembering to take "before" pictures when I have a project in mind. I usually just jump head first into whatever it is I want to create and not until I'm halfway done do I think I should have taken a "before" photo. Well such is life and that's exactly what happened with this project so all you get are the afters...

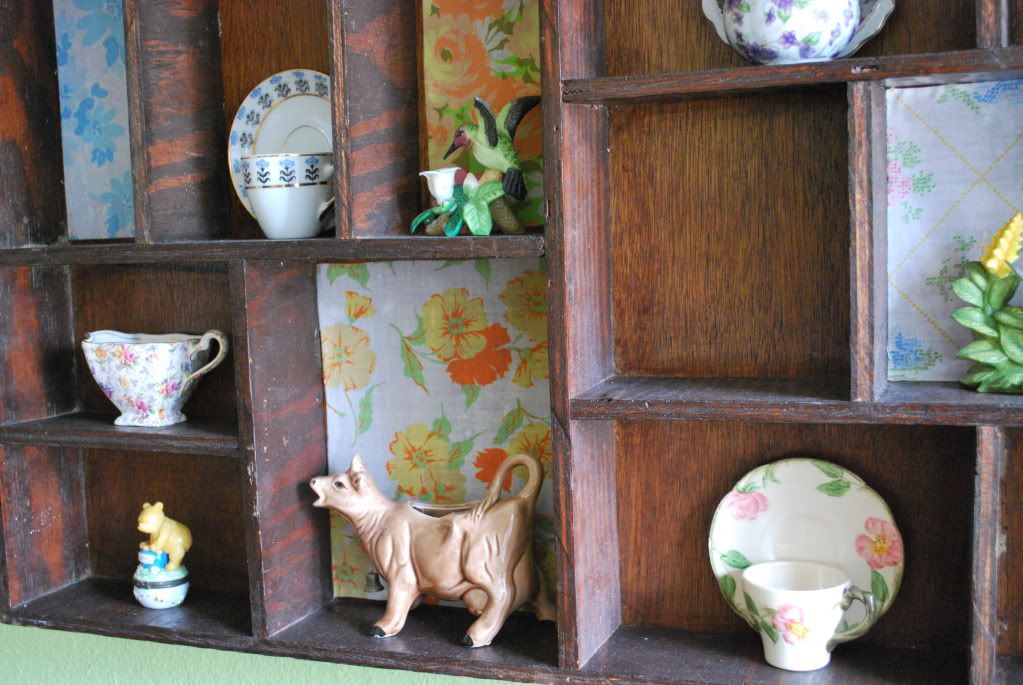
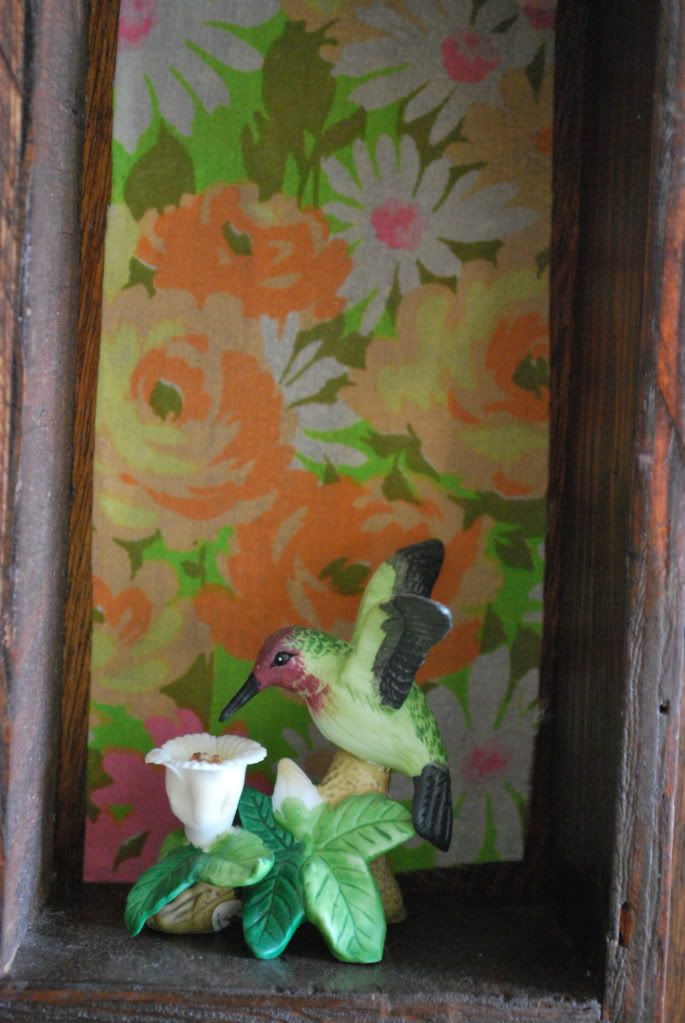
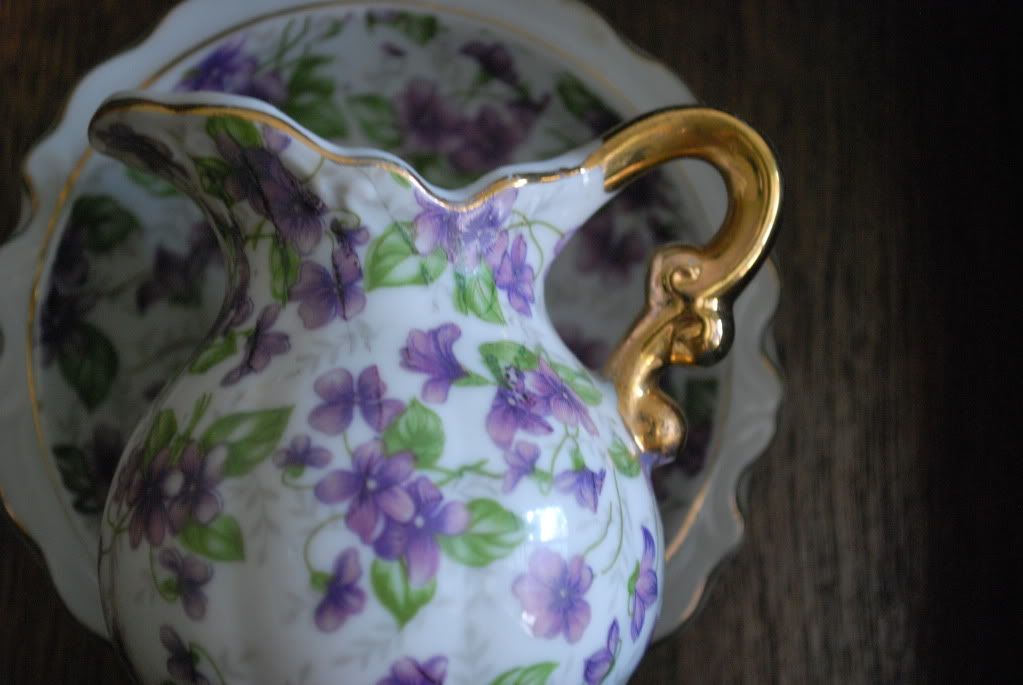
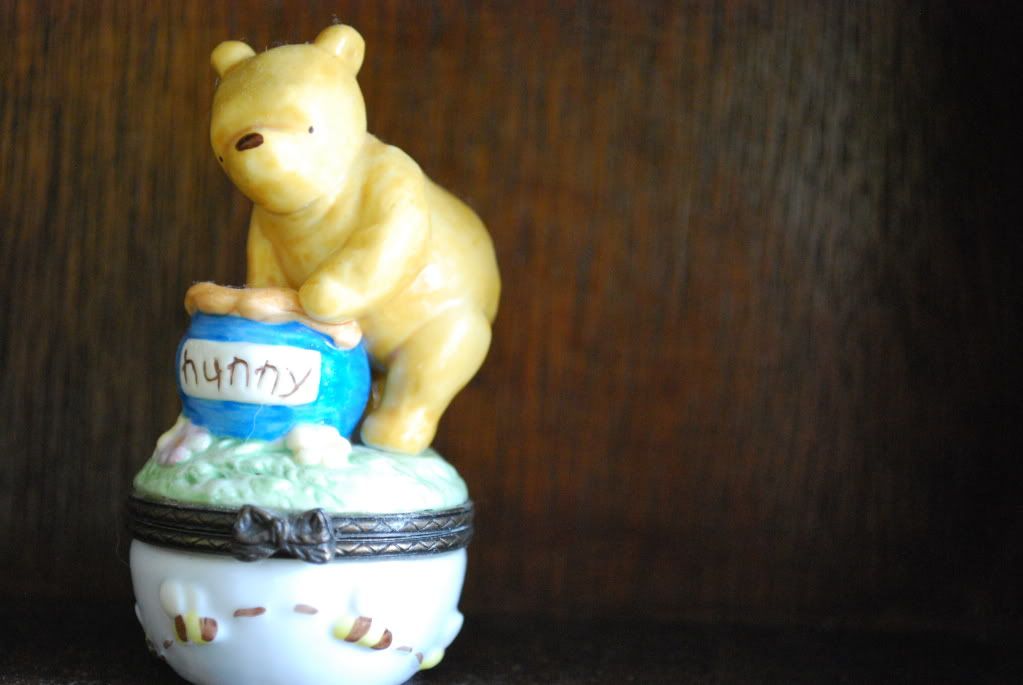
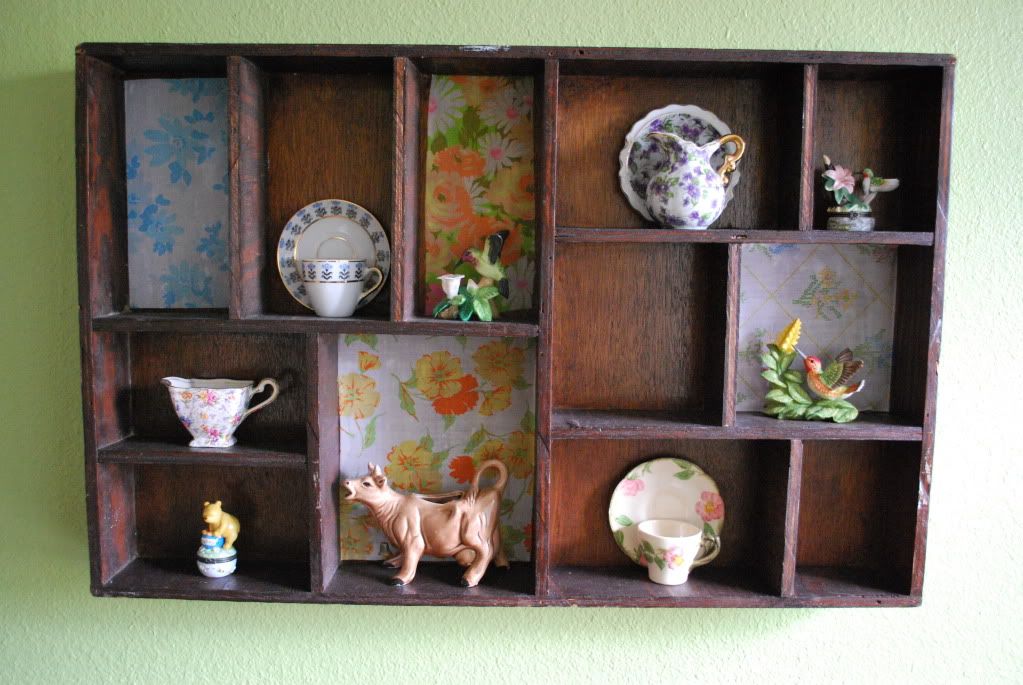
I purchased this curio cabinet for $5.00 a few months ago with this project in mind and I finally set aside the 15 minutes it took to complete the transformation. Ryan has this really sweet collection of his grandmothers hummingbirds and tea cups and I knew this would be the perfect way to display them in our breakfast nook.


restyled_curio

violet_teacup
pooh_bear
upcycled_curio

I measured and cut out some scraps from a few of my vintage sheets and mod podged them on the back of some of the boxes...Easy Peasy! Now I have a little home for some of the sweetest littles of my collection. Now just to show you I can keep it real please ignore the dust that's collected on my re-styled curio...


10.20.2011

Project ReStyle...Weathered Pallet to Belt Display

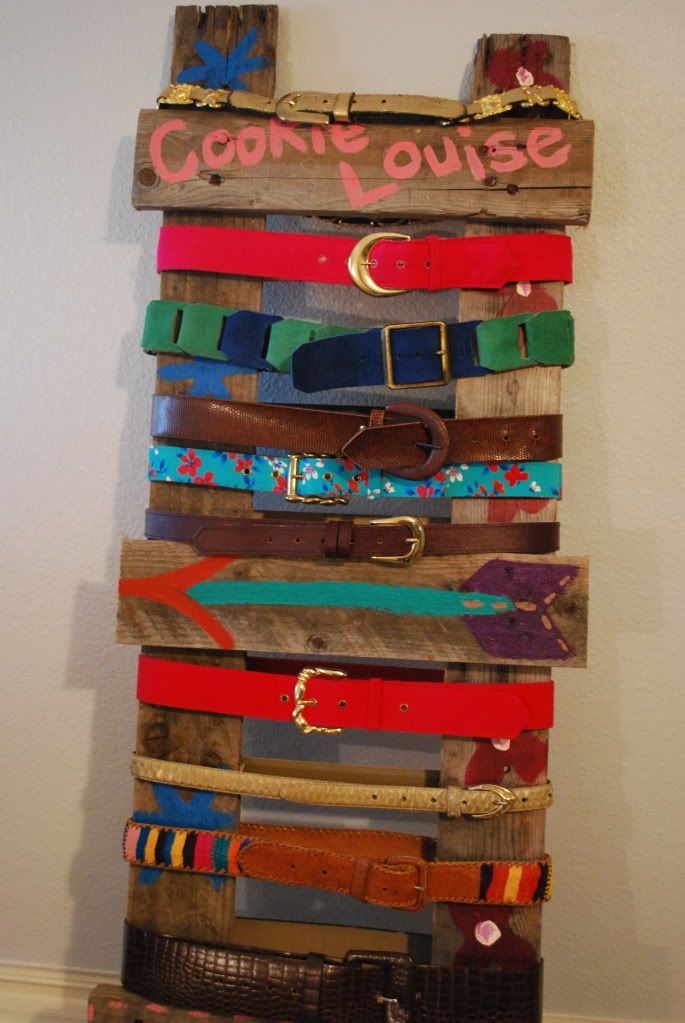
I have been having a difficult time thinking up ways to display accessories in the shop. I want to re-purpose things or thrift display options in lieu of purchasing anything new to keep with my aesthetic. One thing I really couldn't figure out was a belt display...then as I came home from work one day inspiration hit.

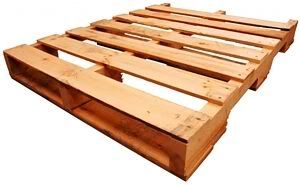
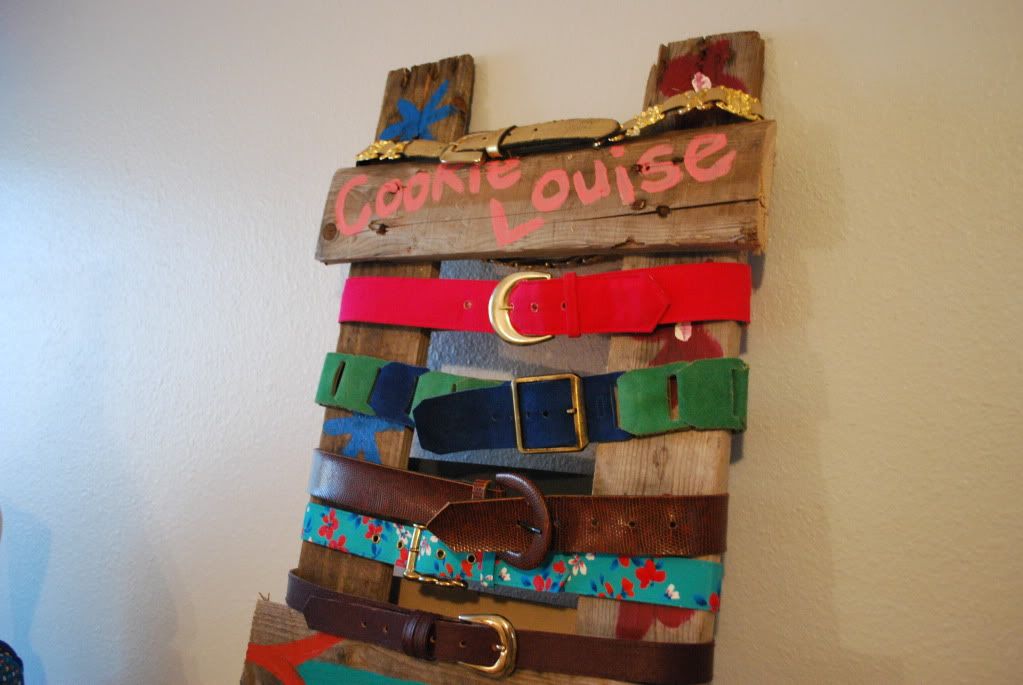
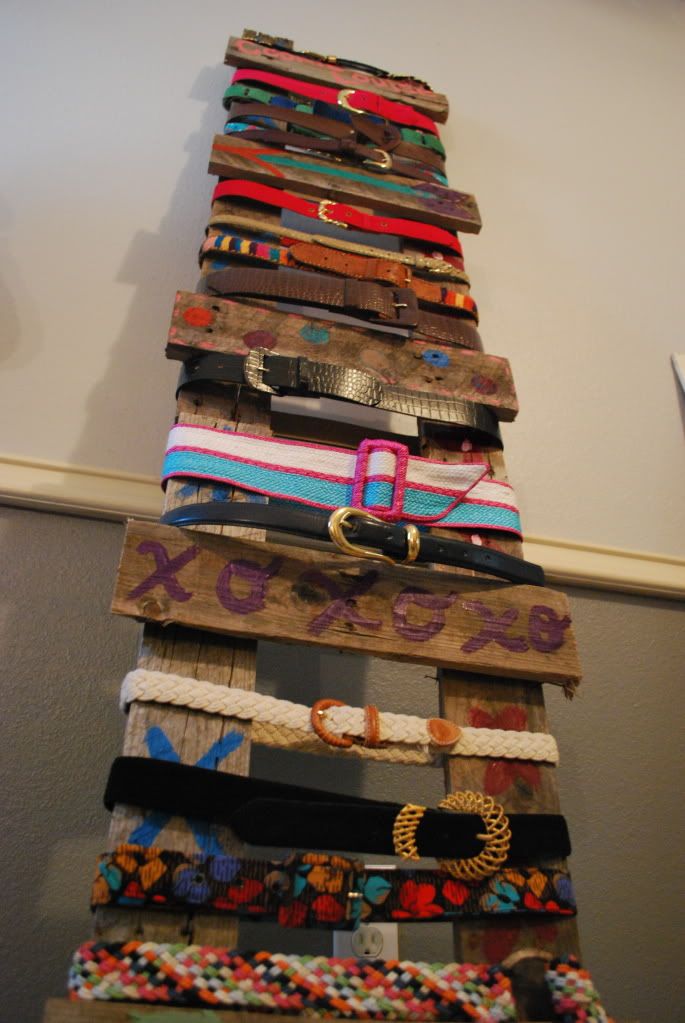
We had this old weathered shipping pallet leaning against the fence and I thought, why not build a faux ladder out of the wood? I envisioned a rustic lean-to type thing and told the mister what I was thinking. He very kindly cut all of the wood to the correct size and built me exactly what I wanted.

With a little paint and some fun designs...here it is, and the cost... FREE! We found the pallet, borrowed a skill saw from our neighbor and I already had all of the craft paint. I love the way this turned out... it's pretty and functional!


{BEFORE}

{AFTER}
re-styled_ladder
ladder_made_from_pallet


vintage_belt_display


It's funny how exciting the little things can be, everytime I see this it puts a smile on my face! Now I need one for my personal belt collection...


10.11.2011

Project ReStyle... Mid-Centruy End Table

I decided I needed a table in front of the sofa in the boutique so when ladies were shopping and waiting on friends they could sit their glasses down or pick up a fashion mag to check out new styles. I didn't want to spend a bunch and I wanted a fixer upper so I headed to the Goodwill on one of their half price Saturdays to see what was available.

I spotted this sweet end table all by it's lonesome and thought it would be the perfect size for the space. I wasn't really interested in a traditional coffee table as it would be too large and be more in the way than anything. The price was right and for $7.50 she came home with me. I initially wanted to do a chevron pattern on the table top in aqua and white but that proved to be WAY more work than I was willing to put in.


After some more thought I decided to go with this lace tutorial I found over on A Beautiful Mess. Again I went to the Goodwill, this time in search of a lace curtain panel to use as my stencil. If you try this yourself {which I highly recommend} then pay careful attention to the pattern of the lace...not all panels are made the same!


I am beyond happy with how this little project turned out. The cute little drawer is perfect for holding the sweet hankies and gloves I have for sale!


10.05.2011

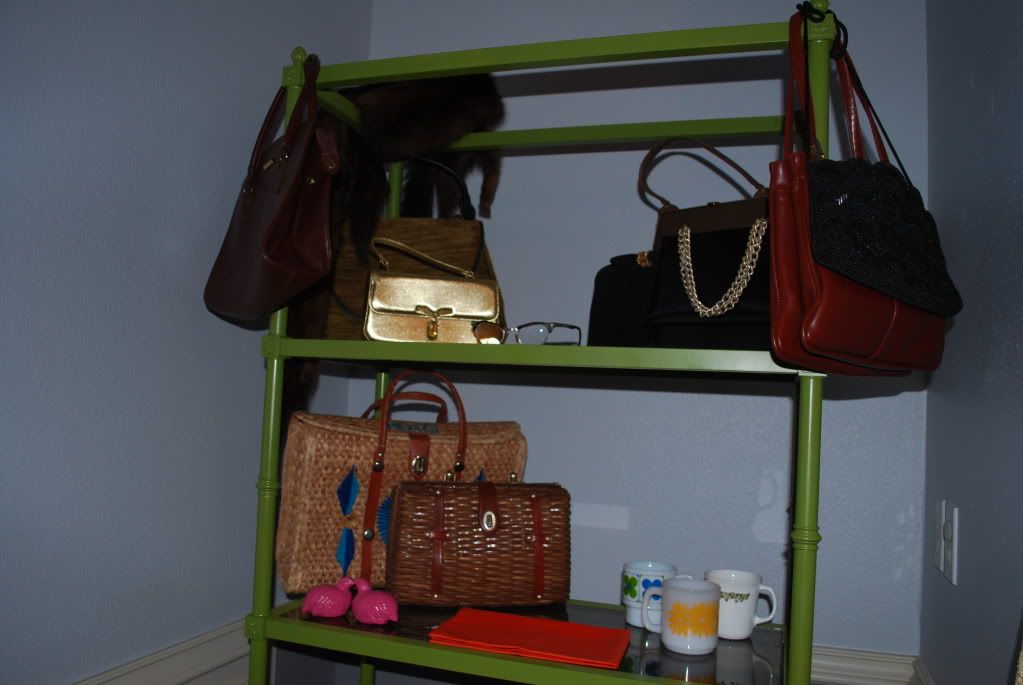
ReStyle... Ugly Brass Bookcase

A couple of months ago my husband was helping with the remodel of his office building. One afternoon I stopped by to see the work and saw this bookcase in the library, I asked what was going to become of it and was informed that it was headed to the dump. Well not on my watch, this sucker had potential!! Plus I needed some neat display options in the shop...


I knew with a coat of spray paint I could have this looking fab so that's exactly what I did. I used Rustoleum "eden" and it took two cans for a project this size. Six whole dollars later this is what I had...


Sorry but this room has the worst lighting at anytime of day! I just love the tented glass shelves and the detailed finials... a little paint always goes a long way.


9.10.2011

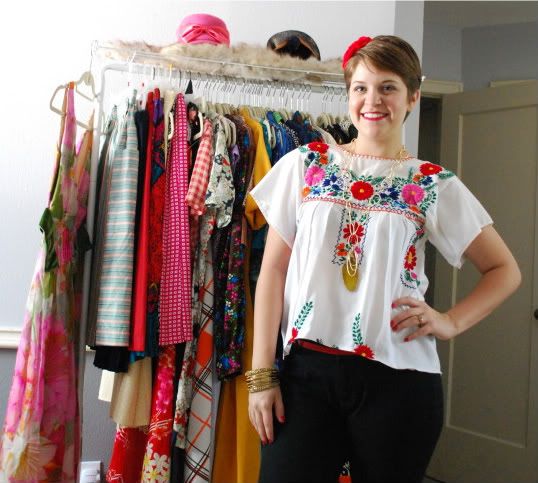
ReStyled... Mexican House Dress

Sorry I didn't do a tutorial for this one I was in a hurry. Like I made it literally an hour before the baby shower I was attending! Needless to say this was super easy if you want to give it a go...

I bought this dress at a garage sale a month or so ago for a dollar and couldn't decided what to do with it. I have a white one that is similar that I bought on my honeymoon in Cozumel and didn't really see the need for two white house dresses.

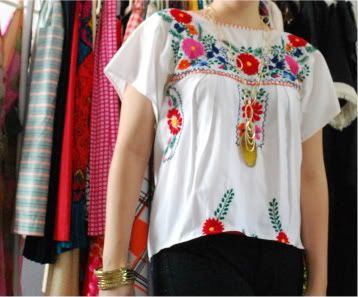
I decided a little crop top would be really cute and easy to dress up or down! Armed with a serger these days I just couldn't resist taking her out for a spin...
dress_restyle

* measure where you want the from of your top to end
* position the dress evenly on the diagonal so you have half of the front and half of the back showing.
* using a ruler measure an inch down from where you want the front of the shirt diagonally to the back. (I wanted my crop top to have a fishtail look)
* cut that sucker!
* serge the edge, fold over once and sew a hem
easy_crop_top
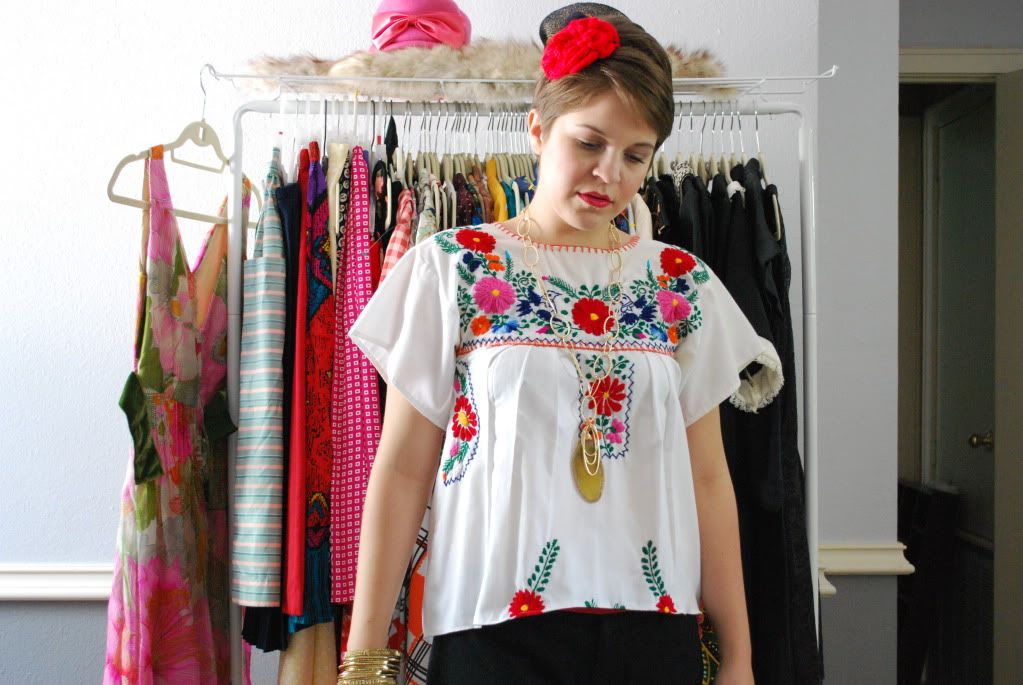
Mexican Embroidered Top

Super fast, super easy and super cheap! I received quite a few complements at the shower all the while thinking to myself how I just made it an hour before...
Let me know if you have any questions or leave a link if you try this yourself!

loves- Cookie Louise


4.20.2011

Project ReStyle...Woah to Wonderful

When I first spotted this mu mu at the thrift I instantly saw some possibility! The fabric alone was worth the purchase. Once I pulled her off of the rack i was intrigued to say the least and was hoping that this would be an easy shortening fix once I tried it on.


Something you don't know about me is that I love anything dohlman sleeved or "bat wing" as it's sometimes called. Not too sure why, I think it's because I have a small frame up top and I think this style makes me look even smaller and who doesn't love that?!


So when I got it home and tried it on the LONG kimono style sleeves and faux turtle neck did NOTHING for me...pretty awful.


Before:


Well that's when I knew making this a dohlman style top would be super easy, all I had to do was grab my ruler and using a fabric marker draw a line diagonally from waist to tip of sleeve and sew the line up.


Easy peasy... then I just cut to my desired length and hacked off the neckline to make it an off the shoulder look and I was all set...simple as that!


After:


Dress: Thrifted

Scarf: F21

Earrings: JCP

Belt: Steve Madden via Stein Mart

Ring: F21

Bracelets: Dillard's

Moccasins: Minnetonka via Journeys


I feel like a million and one bucks in this dress. The mister even said I looked beautiful in it and usually he is unsure of some of my ReStyles so that's a HUGE complement!


loves- Cookie Louise


4.12.2011

Project ReStyle...

Remember last week when I showed you this project in the works?


Well look how handsome he is with a fresh coat of paint! I told the Mister that there was a taqueria around here that was mighty jealous of my little rooster friend...

See the little owl there on the right with his fresh coat of paint? It certainly is AMAZING what a little spray paint can do for something unwanted at the thrift store, ahh new life for a once loved piece...


I can't wait to find a little desk for this nook in my studio...soon I will be wrapping orders and blogging right here under my most favorite collection!


loves- Cookie Louise


4.06.2011

A Project ReStyle Sneek Peek...

Just so you know...this is what I was up to last night. Giving these little crewel pieces of art a much needed face lift. I love bringing old discarded things to life and back to the modern world. Spray paint is such a magical thing people...just sayin!


Hopefully Friday I can show you these lovelys up on my studio wall with all of my other happily rescued crewel pieces. The one thing I have learned about spray painting here in the South Texas humidity is patience, waiting for the paint to thoroughly dry before adding additional coats or hanging is a must!


loves- Cookie Louise


2.28.2011

Project Restyle...Five

So last week I gave you a little peek at what I was going to be working on this weekend. Remember this dress?


Well I picked this little white dress up at the Goodwill a month or so ago for a couple of bucks. The cut wasn't very flattering but I had to figure out how to make it into something cute because of it's homemade vintage charm! Hemming the dress or taking it in just wasn't going to cut it because it was a very odd dress and kinda looked nurse like due to the stiff white fabric.

Then it finally hit me, the best part was the neckline so just cut the sides and back off and turn it into a sweet vintage apron! I added a red polka dot collar to the back of the neck, a yellow polka dot waist sash, a black and white damask ruffle from some garage sale fabric, a sweet little pocket with an applique I cut off of an old tank I've had since high school and topped it off with three black vintage buttons.


You know when you have something in your head and it turns out to be WAY better than you imagined? Well this is that item, I love this little apron! I can't wait to get baking in it or wear it as a hostess piece when we have a dinner party...oh the options!

I hope you love it as much as I do, would this be something you would like to see in the shop?

loves- Cookie Louise


2.25.2011

Project ReStyles Five & Six...

Hello all, guess what... it's Friday yay! I just wanted to give you all a sneak peek of the two items I will be working on ReStyling this weekend.


Can you guess what I might be turning these handmade dresses into? I can't wait to show you the final results I think they are going to be super cute and functional! Have a wonderful end to your work week...

loves- Cookie Louise


2.07.2011

Project ReStyle... FOUR!

So, a couple of weeks ago again at the Port Aransas city wide garage sale I came across a handful of crochet doilies for only a couple of bucks and had to have them. After seeing all of the super cute bunting ideas I thought this would be the perfect way to display the doilies without having to commit them permanently in that position.
What I did was gather a length of pretty pink gingham ribbon I had in my stash and fold the doilies and vintage hankie over in half. Then I did a little stitch on each end to secure the doilies to the ribbon in a manner that would be easy to remove for future display changes...and there you have it.
Super easy and do-able even for the novice sewer all you need is:
ribbon, doilies or hankies, thread and a needle!


I just love the way it looks over the mirror I ReStyled a week ago! Looking forward to my MIL gifting me with her 1940's buffet to put under the mirror and dedicate my sewing machine to, I will give you a sneak peek as it comes together.

Hope you all are having a fantastic Monday, personally the weekend flew by a little too fast!

loves- Cookie Louise


2.01.2011

Project ReStyle... numero tres

So months ago I found this pretty ugly brassy colored mirror at the Goodwill and immediately had big plans for the potential in this beauty! I thought I would give it a fresh coat of I'm not sure what color and hang it downstairs in my living area. That was until my Mister wasn't to keen on the idea.

Well no prob because plan B was to be selfish and take it up to my studio anyway...score!

I thought the bright pink color would look nice in conjunction to my aqua walls.

I have been having pretty good luck at the local shops here in Corpus Christi, now I just have to decide what my next project is going to be! Have you been having any luck yourselves?

loves- Cookie Louise