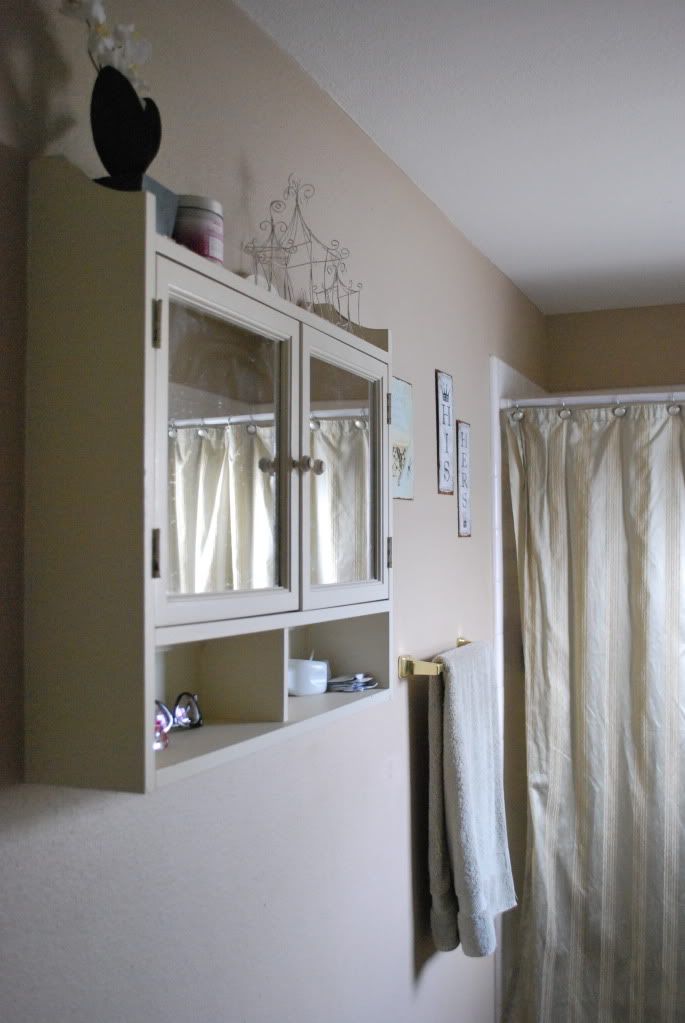
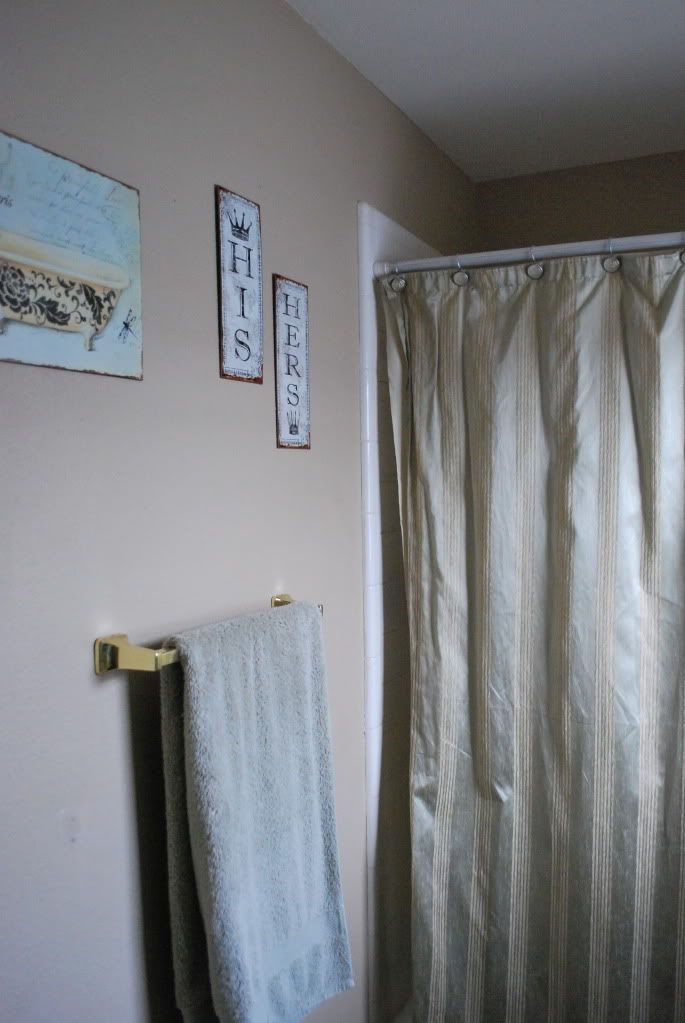
So like I said in my post last week of the before pictures of our master bath, this re-style has to be done cheaply. As in almost free if possible! When I started to think of a color scheme I thought of everything I already owned that could be re-purposed. That included a white shower curtain and the hooks I had on the existing curtain.
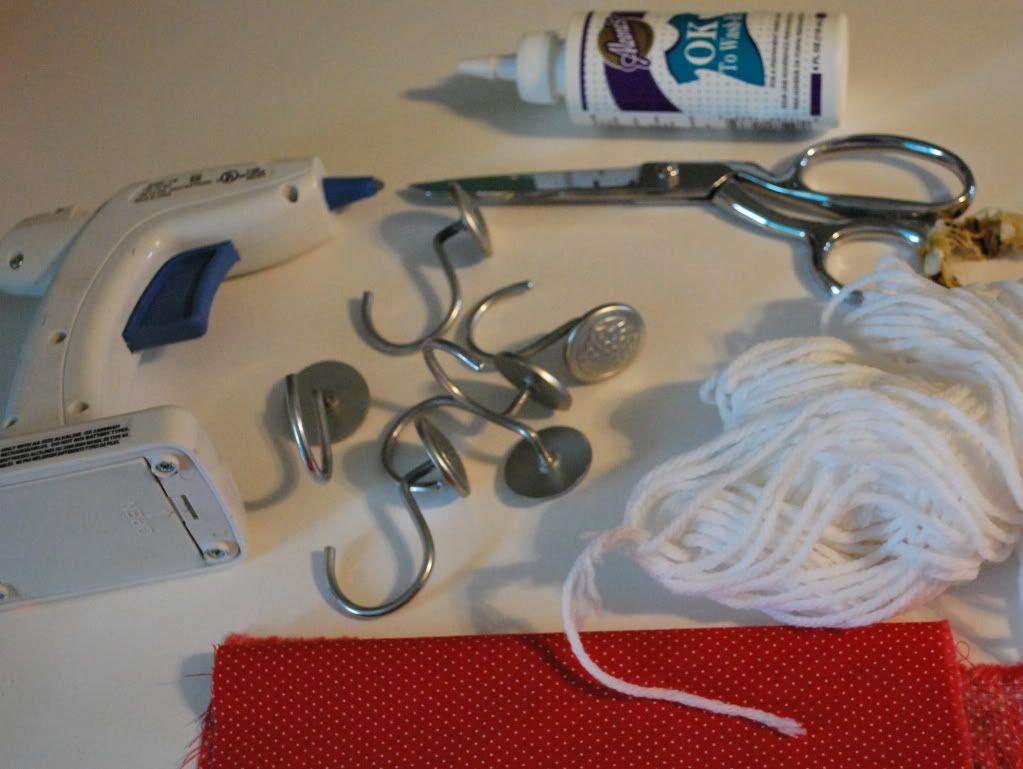
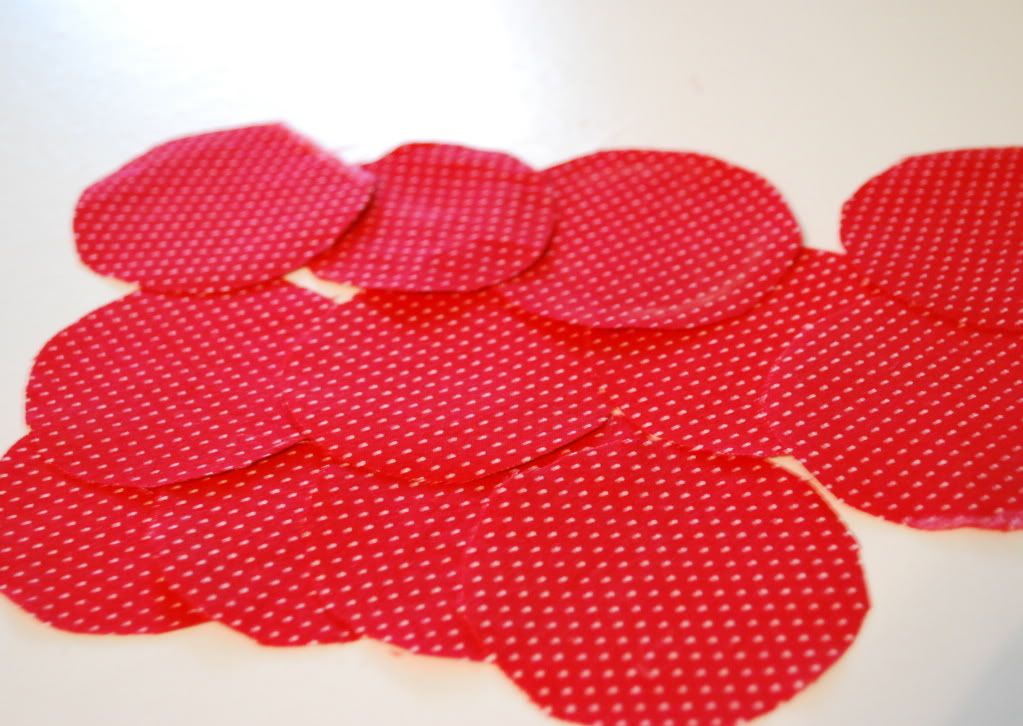
I wanted to add some of my personality to the room and I thought what better way to makeover the hooks than by covering them with fabric. Since they were already round it mimics the look of a fabric covered button quite well. Best of all this part was free... I used fabric from my stash and my trusty glue gun.
The process was super easy and probably only took about 30 min. to complete...
Supplies Needed: Shower Curtain Hooks, Fabric, Hot Glue Gun and Glue, Chalk or Something to Mark With, (Optional: Yarn, Fabric Glue)
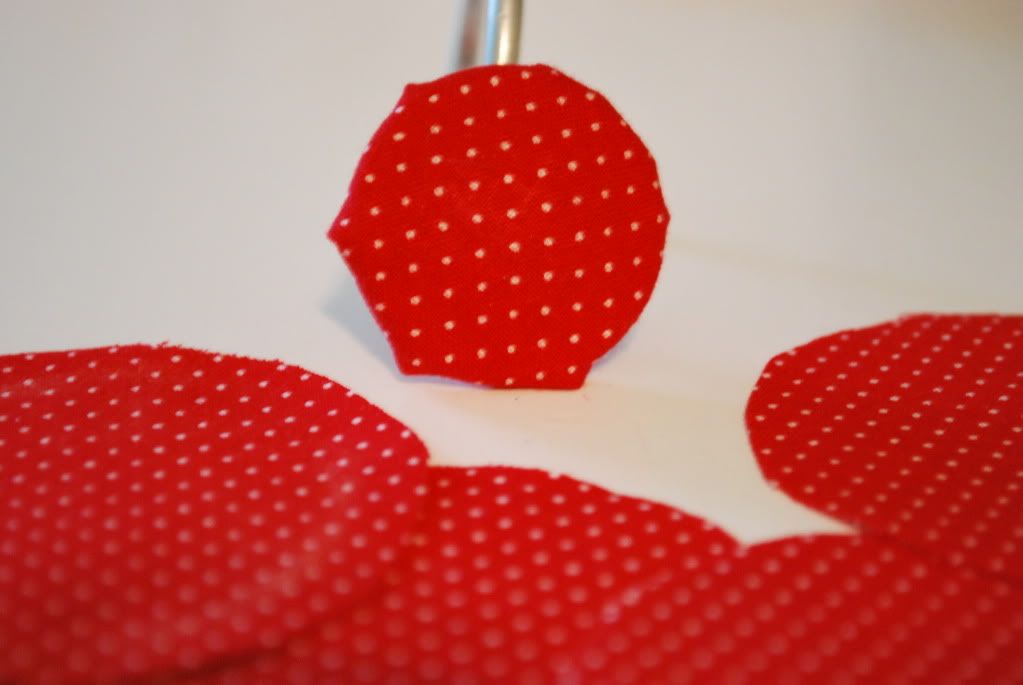
1. Trace the front of the hook, be generous so that there is enough fabric to wrap completely around.
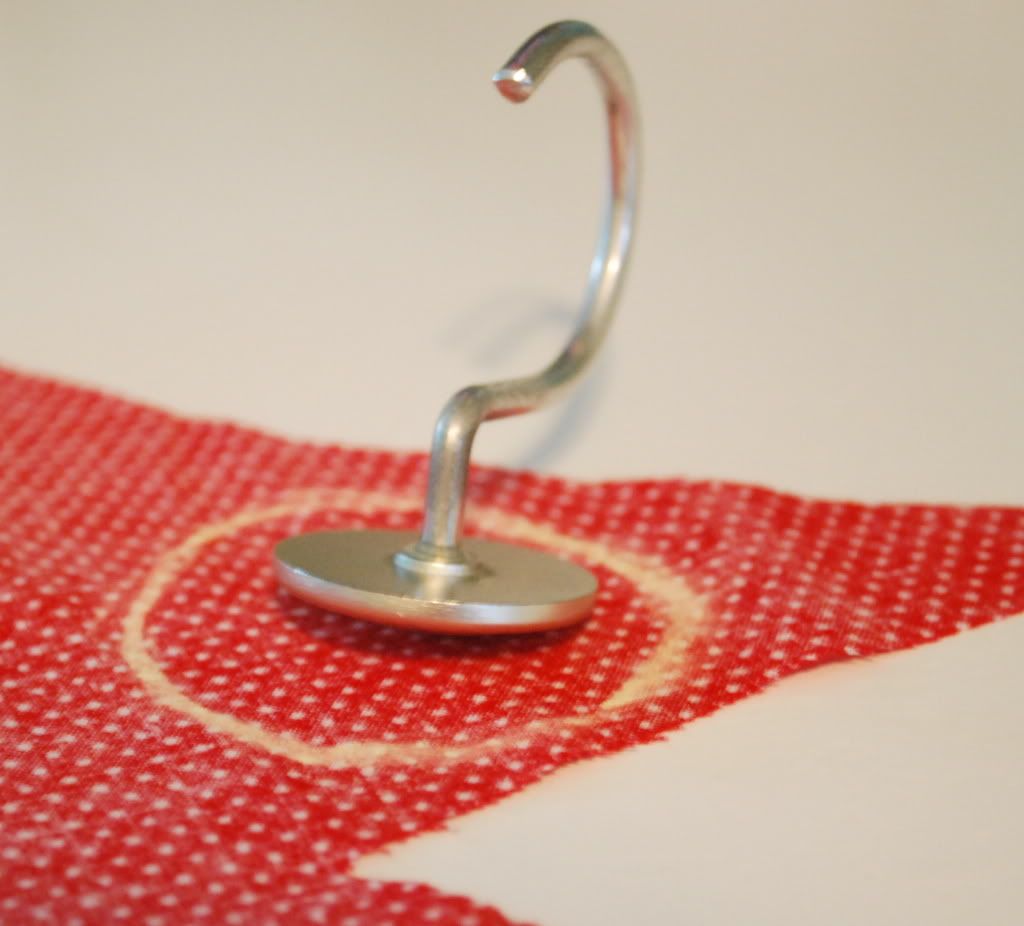
2. Glue and adhere fabric to the hook.
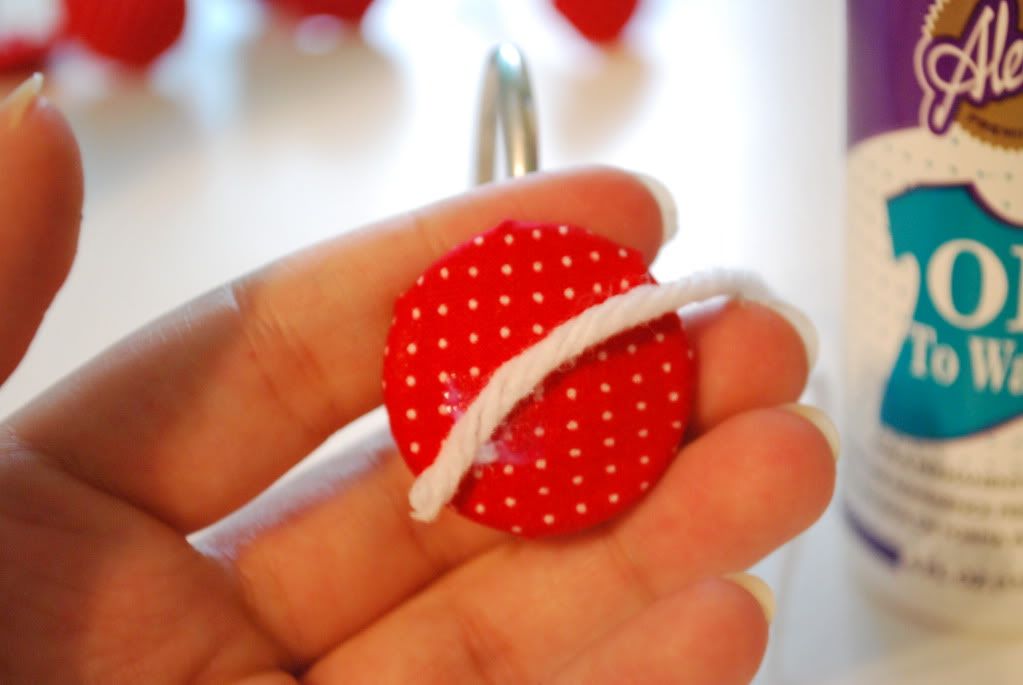
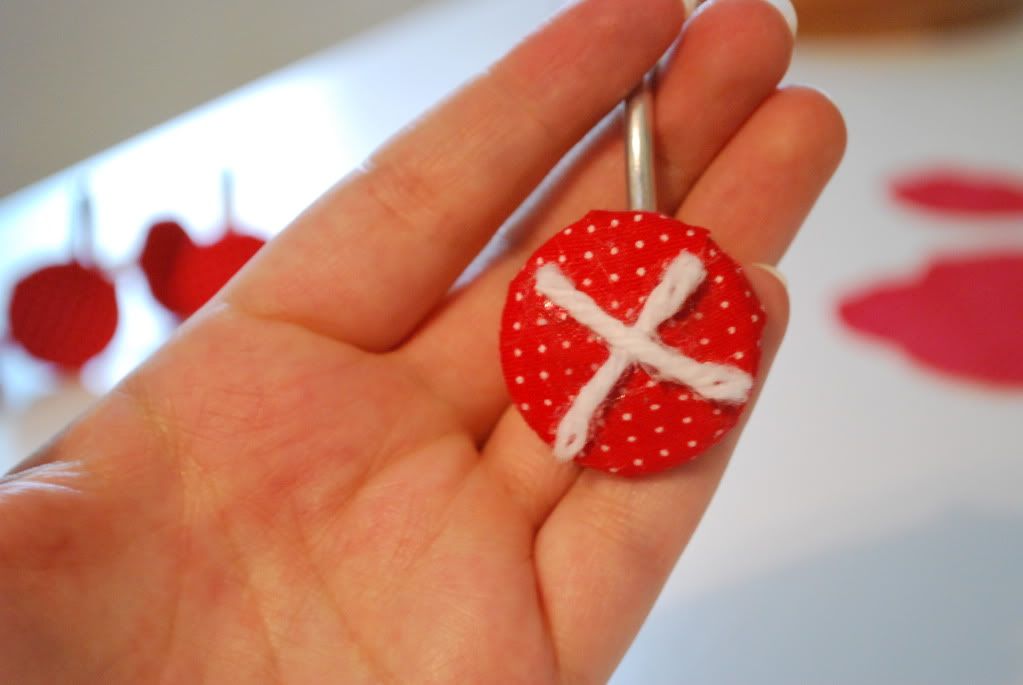
3. For an added effect cut and glue yarn to the front in an X shape to mimic the look of a sewed on button.
4. Admire the ease of the project and the change in your bathroom!
I opted out of the yarn on the button look because the white was just too washed out against the white shower curtain and I didn't have any other yarn that complemented my color choices. I love this little extra that this simple DIY adds. Tomorrow I'll be back with another installment of how it's all starting to take shape!